

As long as you wrap up warm, winter's a great time for twilight photography, as Andrew Cowin explains.
Posted: 23/11/2010 - 15:43

Taken on a drizzly summer evening using the Pentax K10 and 16–45mm at the 45mm setting with an exposure of f/8 at about five seconds.
You know the situation: you’ve travelled miles to take photos, but suddenly the clouds are rolling in and rain looks imminent. A couple of test shots confirm your worst fears – the subjects may be interesting, but the light is yuck. Before you pack your stuff up and set off home in a towering fury, take a deep breath and relax. Even if the weather gets worse, you still have a great chance of getting a couple of really good shots – perhaps even spectacular ones, if you’re lucky.
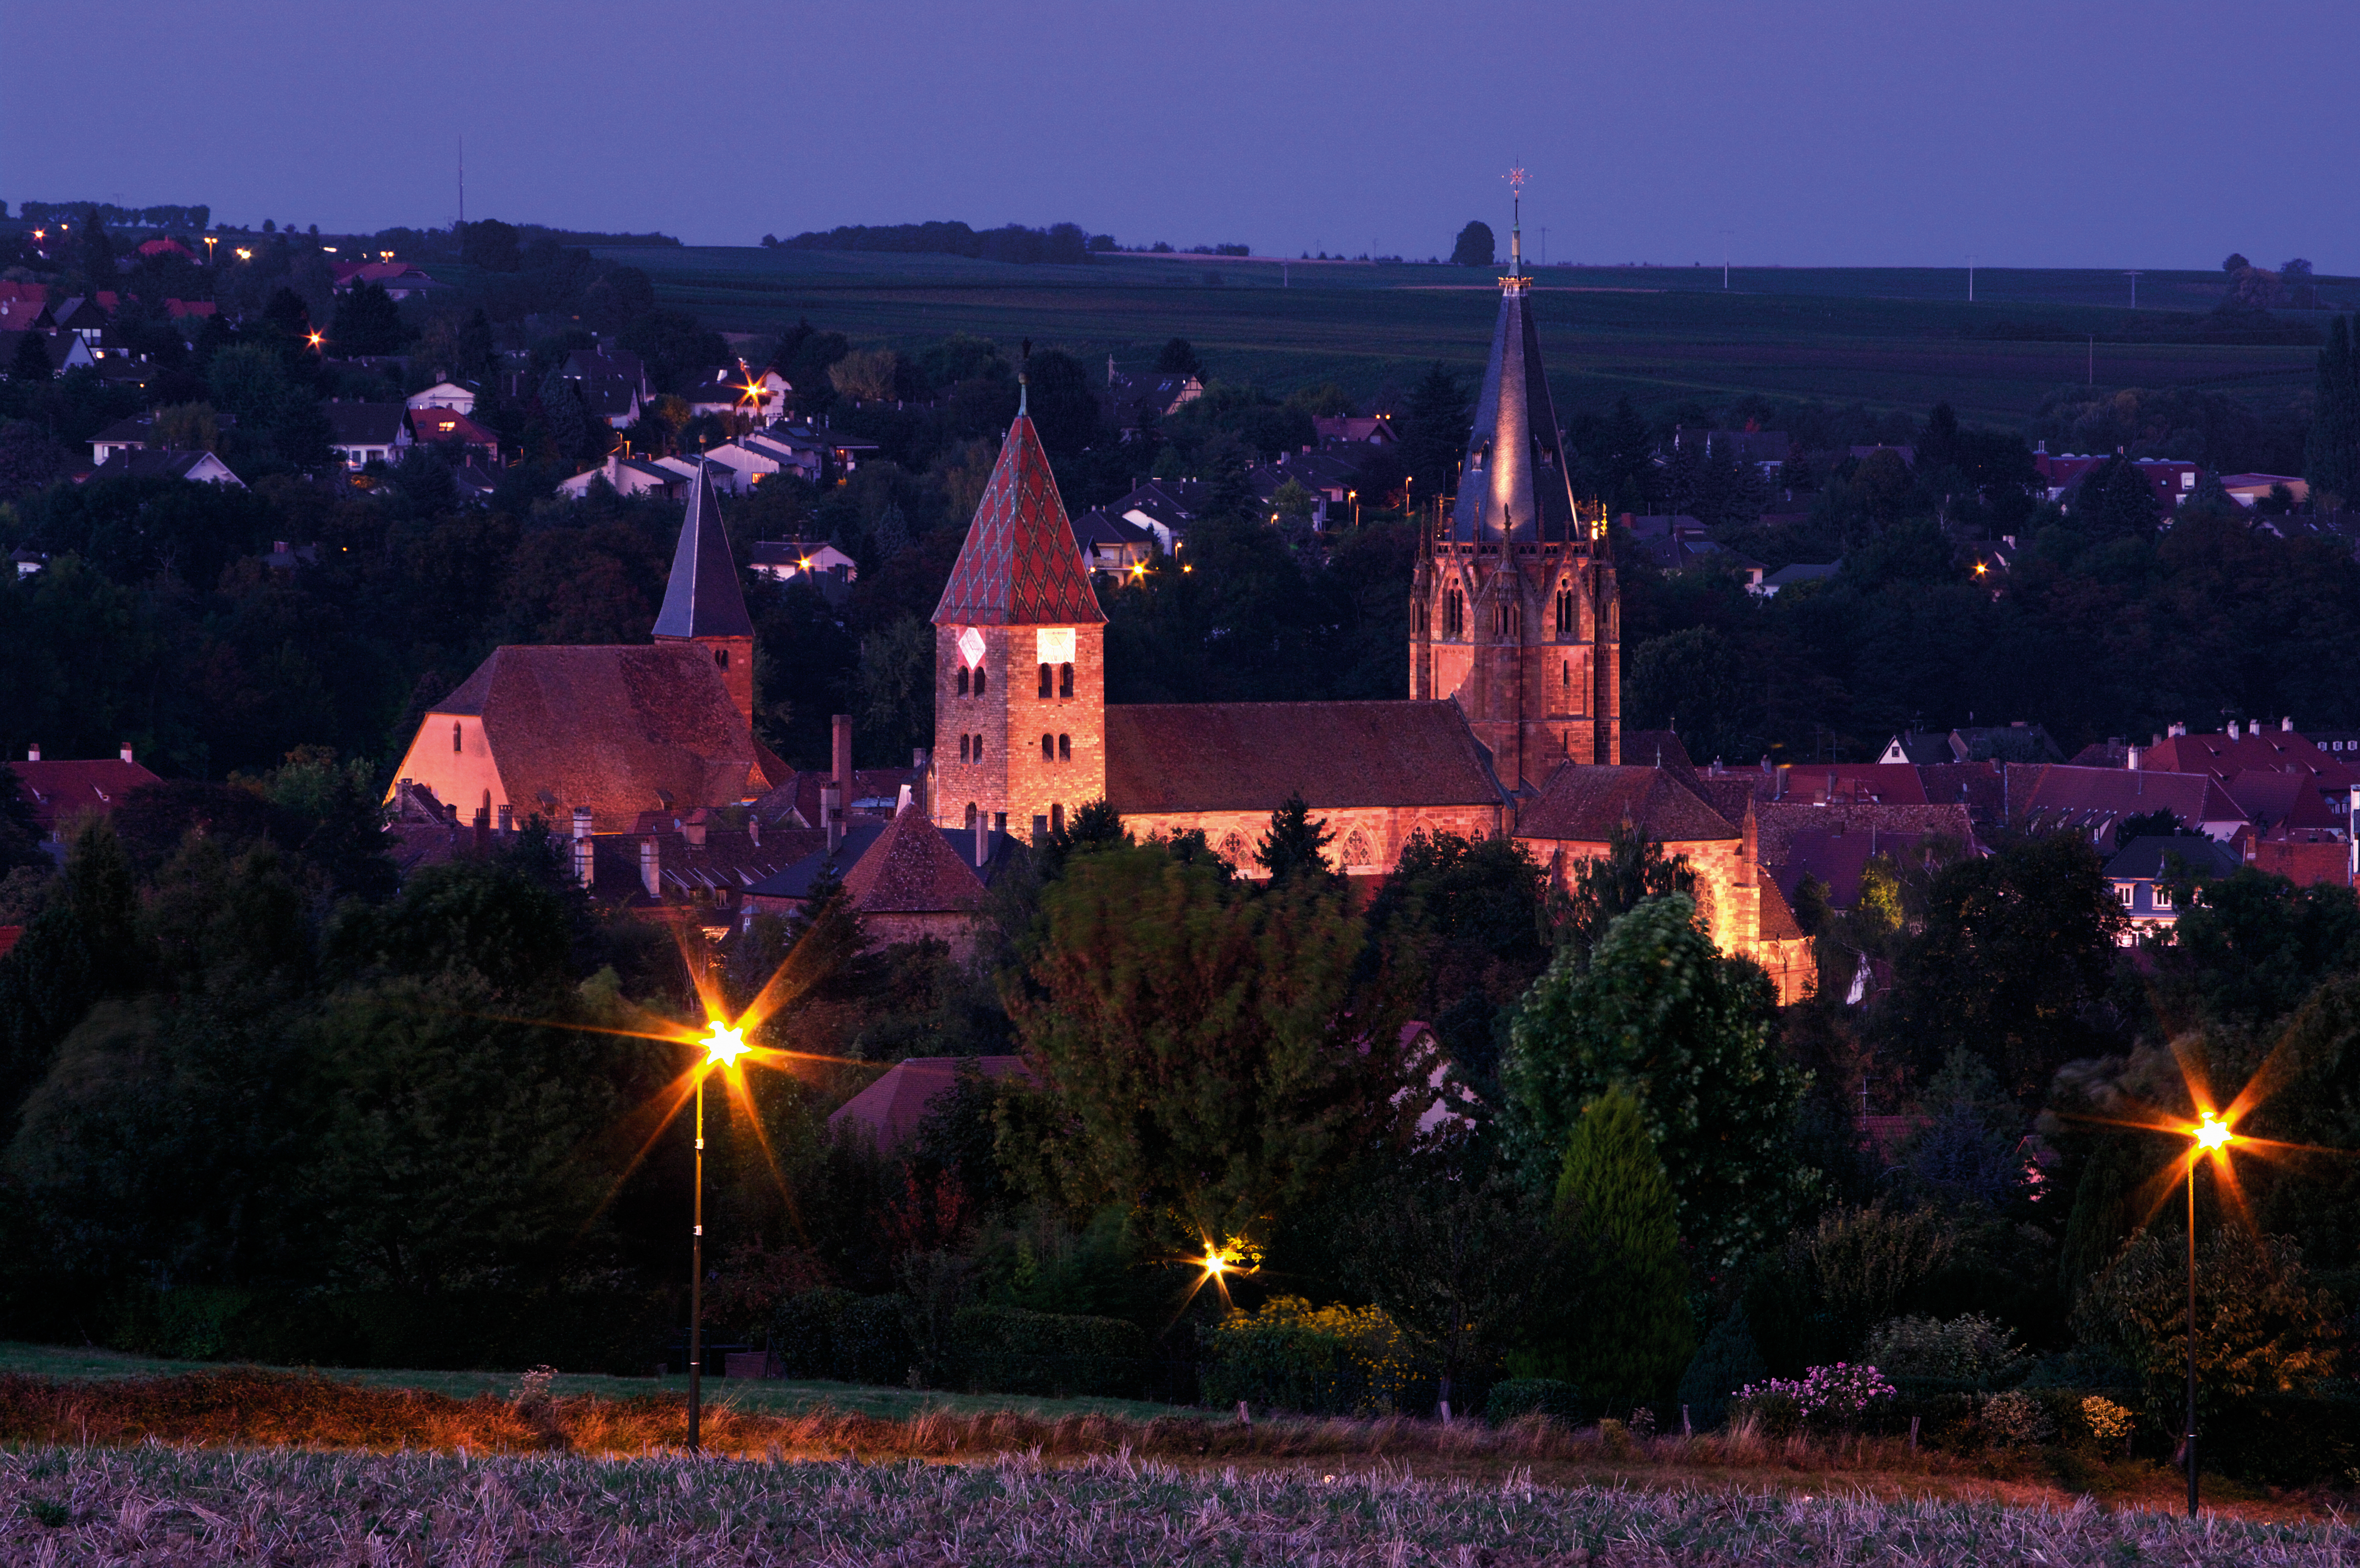
Sceptical? Well, take a look at the picture of the town of Breisach on the German-French border with its lovely medieval church perched on a steep hill. This was taken at the end of a chilly, grey February afternoon, with yours truly hopping from one leg to another in the cold, while preparing to make a dash for the car if the rain suddenly started to bucket down – which it did about two minutes later.
It tickles me that most people find images like this unusually romantic and atmospheric – in fact, it’s been used to promote tourism of the place shown. However, anyone like me who had the misfortune to be there at the time may well think twice about going back!
What this image illustrates is that it was taken at that most magical time of day – twilight. And the wonderful thing is that, seen from a photographer’s point of view, twilight is pretty well always magical, regardless of what the weather is like.
The reason for this can be partly found in the word itself – twilight which implies that two types of light are present. First there’s the fading natural daylight and then there’s the manmade artificial lights that tend to come on about half-an-hour after sunset.
The magical bit is that there’s a phase during which the natural light is still softening the shadows while the sky is decreasing in luminosity to such a point that it’s perfectly in balance with the constant artificial light. This phase is quite short, though. As I’ll explain, you can extend it to about 20 minutes if you plan carefully in advance.
During this time, the natural light becomes more shadowy and picks up a strong blue cast capable of turning the greyest, gloomiest sky into a gorgeous deep indigo. Before this, the sky is too pale and washed out; after it, the sky goes black, and the romance is lost in harsh highlights and opaque shadows.
Time was when taking twilight shots was a tricky and expensive business. Even the best lightmeters
could be misleading at such low light levels, so you had to shoot a lot of film to be sure of getting at least a couple of reasonable shots. Even then, the results were sometimes highly puzzling, with bizarre colour casts making the whole thing a bit of a lottery. Nowadays, the possibility of reviewing your images on the spot not only reduces the element of chance, it also opens up new creative possibilities.
Technically, considering the potential rewards, twilight photography isn’t that demanding, although some trial & error may be needed to hone your abilities. One brief remark to start with – just because it’s dark, don’t raise the ISO rating. I always work at ISO100 for top quality and once you have the camera on the tripod, who cares whether the exposure is one or 10 seconds?
Which brings me to the tripod. Obviously, this is usually essential, and the more solid the better, especially if there’s wind and you’re using a longer lens. However, if you happen to be caught without one, look for anything solid that might serve as a firm base.
The shot of St. Peter’s in Rome had to be taken with the camera resting on a bollard, angled upward
using my wallet. I use the two-second release-delay mode to avoid shake.

A wet evening on holiday in Rome with no tripod at hand – however, a bollard did good service for an exposure of 13 seconds at f/11, using a 50-200mm at nearly full stretch. The shot was taken a little late, so the sky has gone a touch too dark.
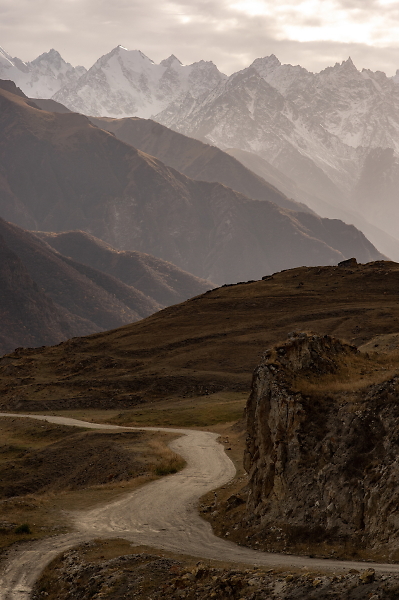
The use of the shadow filter added a warming touch to this twilight scene where the large areas of green would otherwise have been too dull. Pentax K20D and 50-200mm at 70mm Exposure; five seconds at f/8.

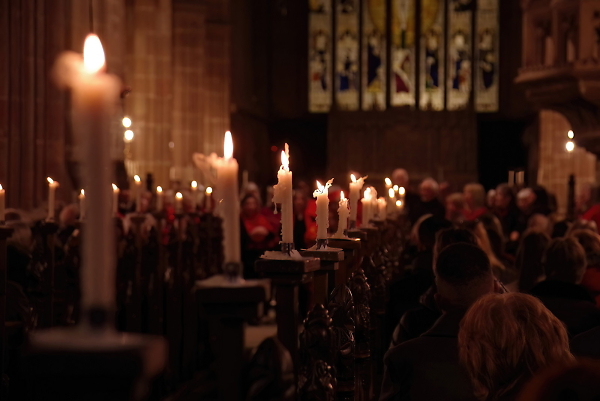
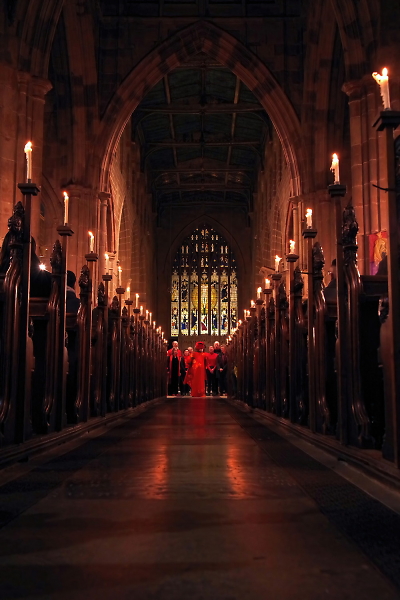
Warm colours are usually attractive, and this is what the AWB setting came up with here.
However, in this case, the candlelight filter cooled things down to produce a more striking image. K10D with 16–45mm at about 30mm. The exposure was four seconds at f/8.
Exposure suggestions
As the metering conditions at twilight are exceptional, you’ll generally want to put your camera into manual mode. I would suggest opting for an aperture setting of f/8 if there’s enough light to get away with it. This just leaves the shutter speed to be determined. To measure the available light, I recommend using the camera’s spotmeter mode. This allows you to roam around the image in the viewfinder, picking out the parts you think have a medium brightness, and then checking highlights and darker sections to see if the light is reasonably well balanced.
My usual technique is to keep measuring the sky above my subject until it fades to the point that it
registers 1 to 2 steps above a middle reading. This means that the sky should come out bright, but rich blue, roughly like the one to the left. Five minutes before this, it’s a pale sickly colour, ten minutes later it’s coal black.
Having taken a first shot, take time to review the result. This sometimes means being a little patient, because for longer exposures, cameras like the Pentax *ist D and K10D/K20D may well take several seconds before completing data storage. Then, it’s important to remember that the image you view can’t be trusted unconditionally – because it’s getting dark, the viewing screen will seem bright and cheerful, even if your image is underexposed.
So, always make a point of checking the histogram. Even if this seems OK, make a series of exposures going about 1.5 stops (using the shutter speeds) in either direction of what looks to be the perfect shot. That way, you’ll be sure of getting things right.
Experience has taught me that it’s better to have what seems to be an underexposed image with most of the peaks in the left half of the histogram. This means the highlights don’t burn out, which is important during processing when you may need to reduce contrast while lightening shadows.
Pentax digital filters
Having mastered this rule-of-thumb approach to low-light images, you might like to begin experimenting a little to improve your results. Here, the filter options on the Pentax K10D/K20D offer a happy hunting ground for tinkering. Having got your first decentlooking image, simply preview the various filter options in playback, and see if any of them change the colours for the better.
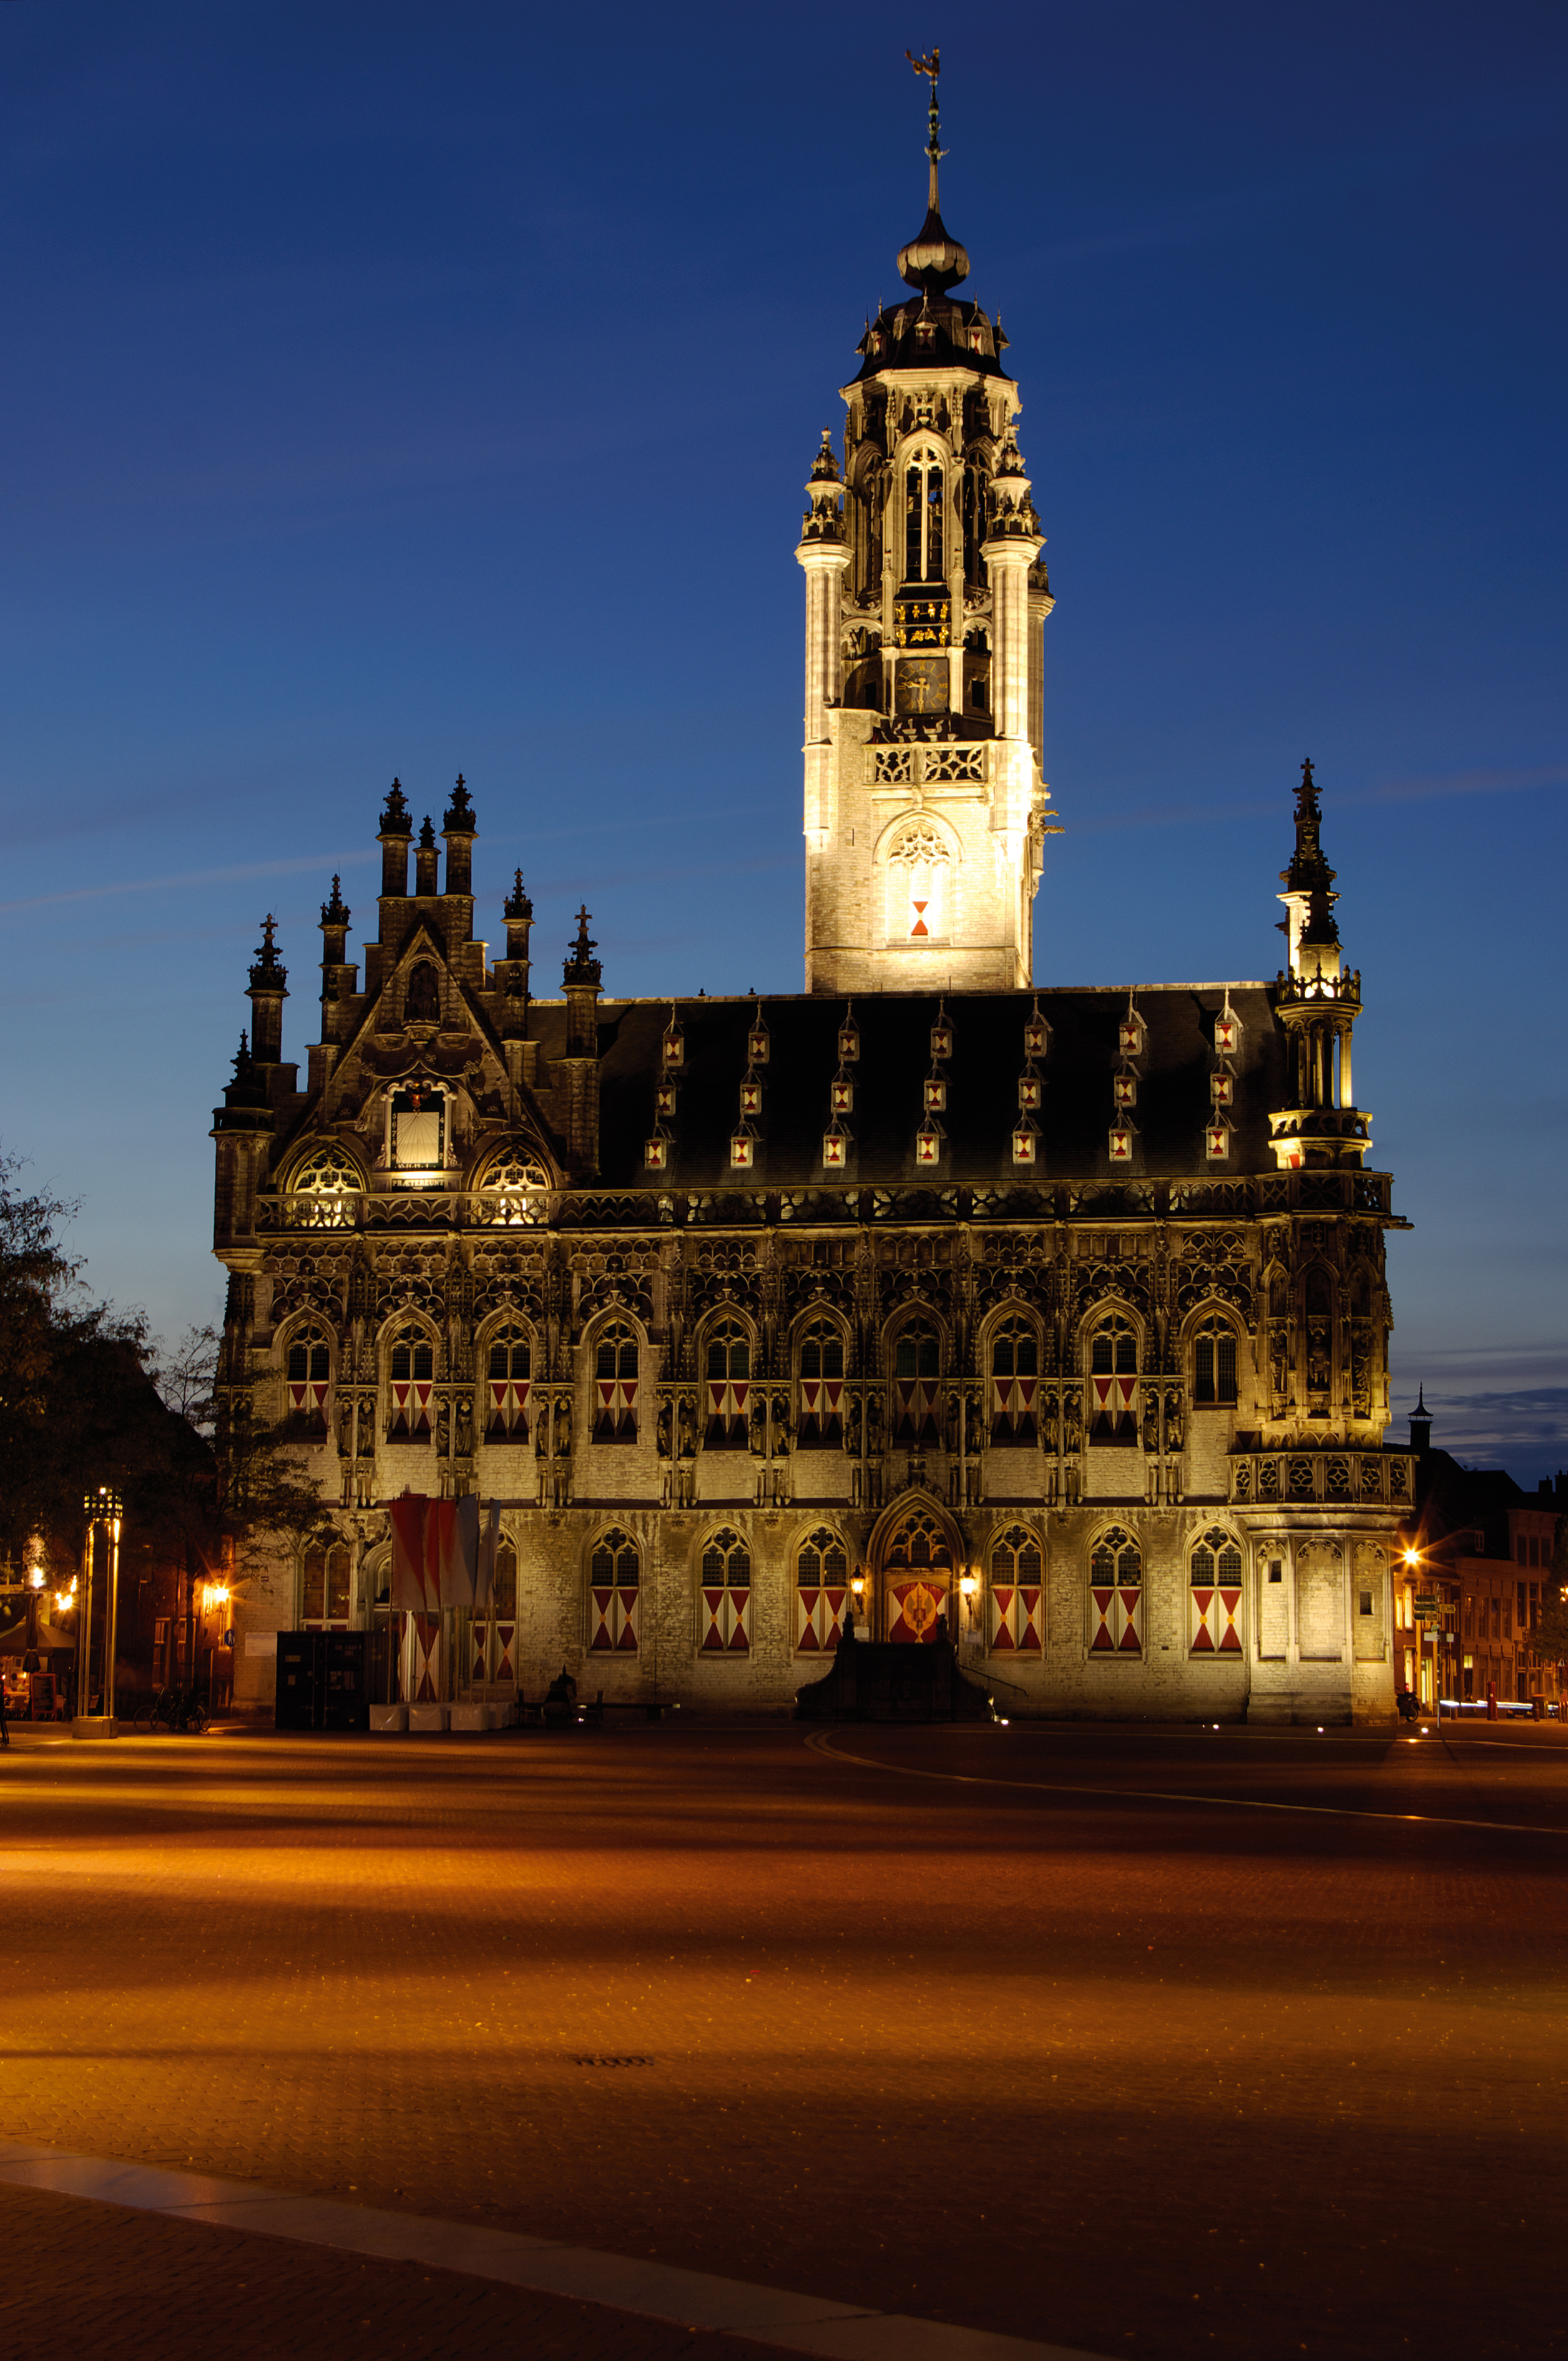
Look at the two shots of the Town Hall in Middelburg, Holland (right) to see how this works. Using auto white balance, the effect was pleasantly warm against a fading sunset sky. However I found that moving to the candlelightfilter and injecting a large, cooling shot of blue gave the building the pristine sharpness against a superb blue sky that I was looking for.
With the next picture, the opposite was the case – the weather was grey, and my initial review image had a muddy, bluish quality that wasn’t exactly inspiring. The solution was simply to apply the shadow filter, which cut through the blue and added a warm, magenta tinge to the surroundings, not unlike the effect you sometimes get after particularly splendid sunsets. In this case, the illumination of the buildings was quite weak so the contrast of the image had to be boosted in Photoshop.
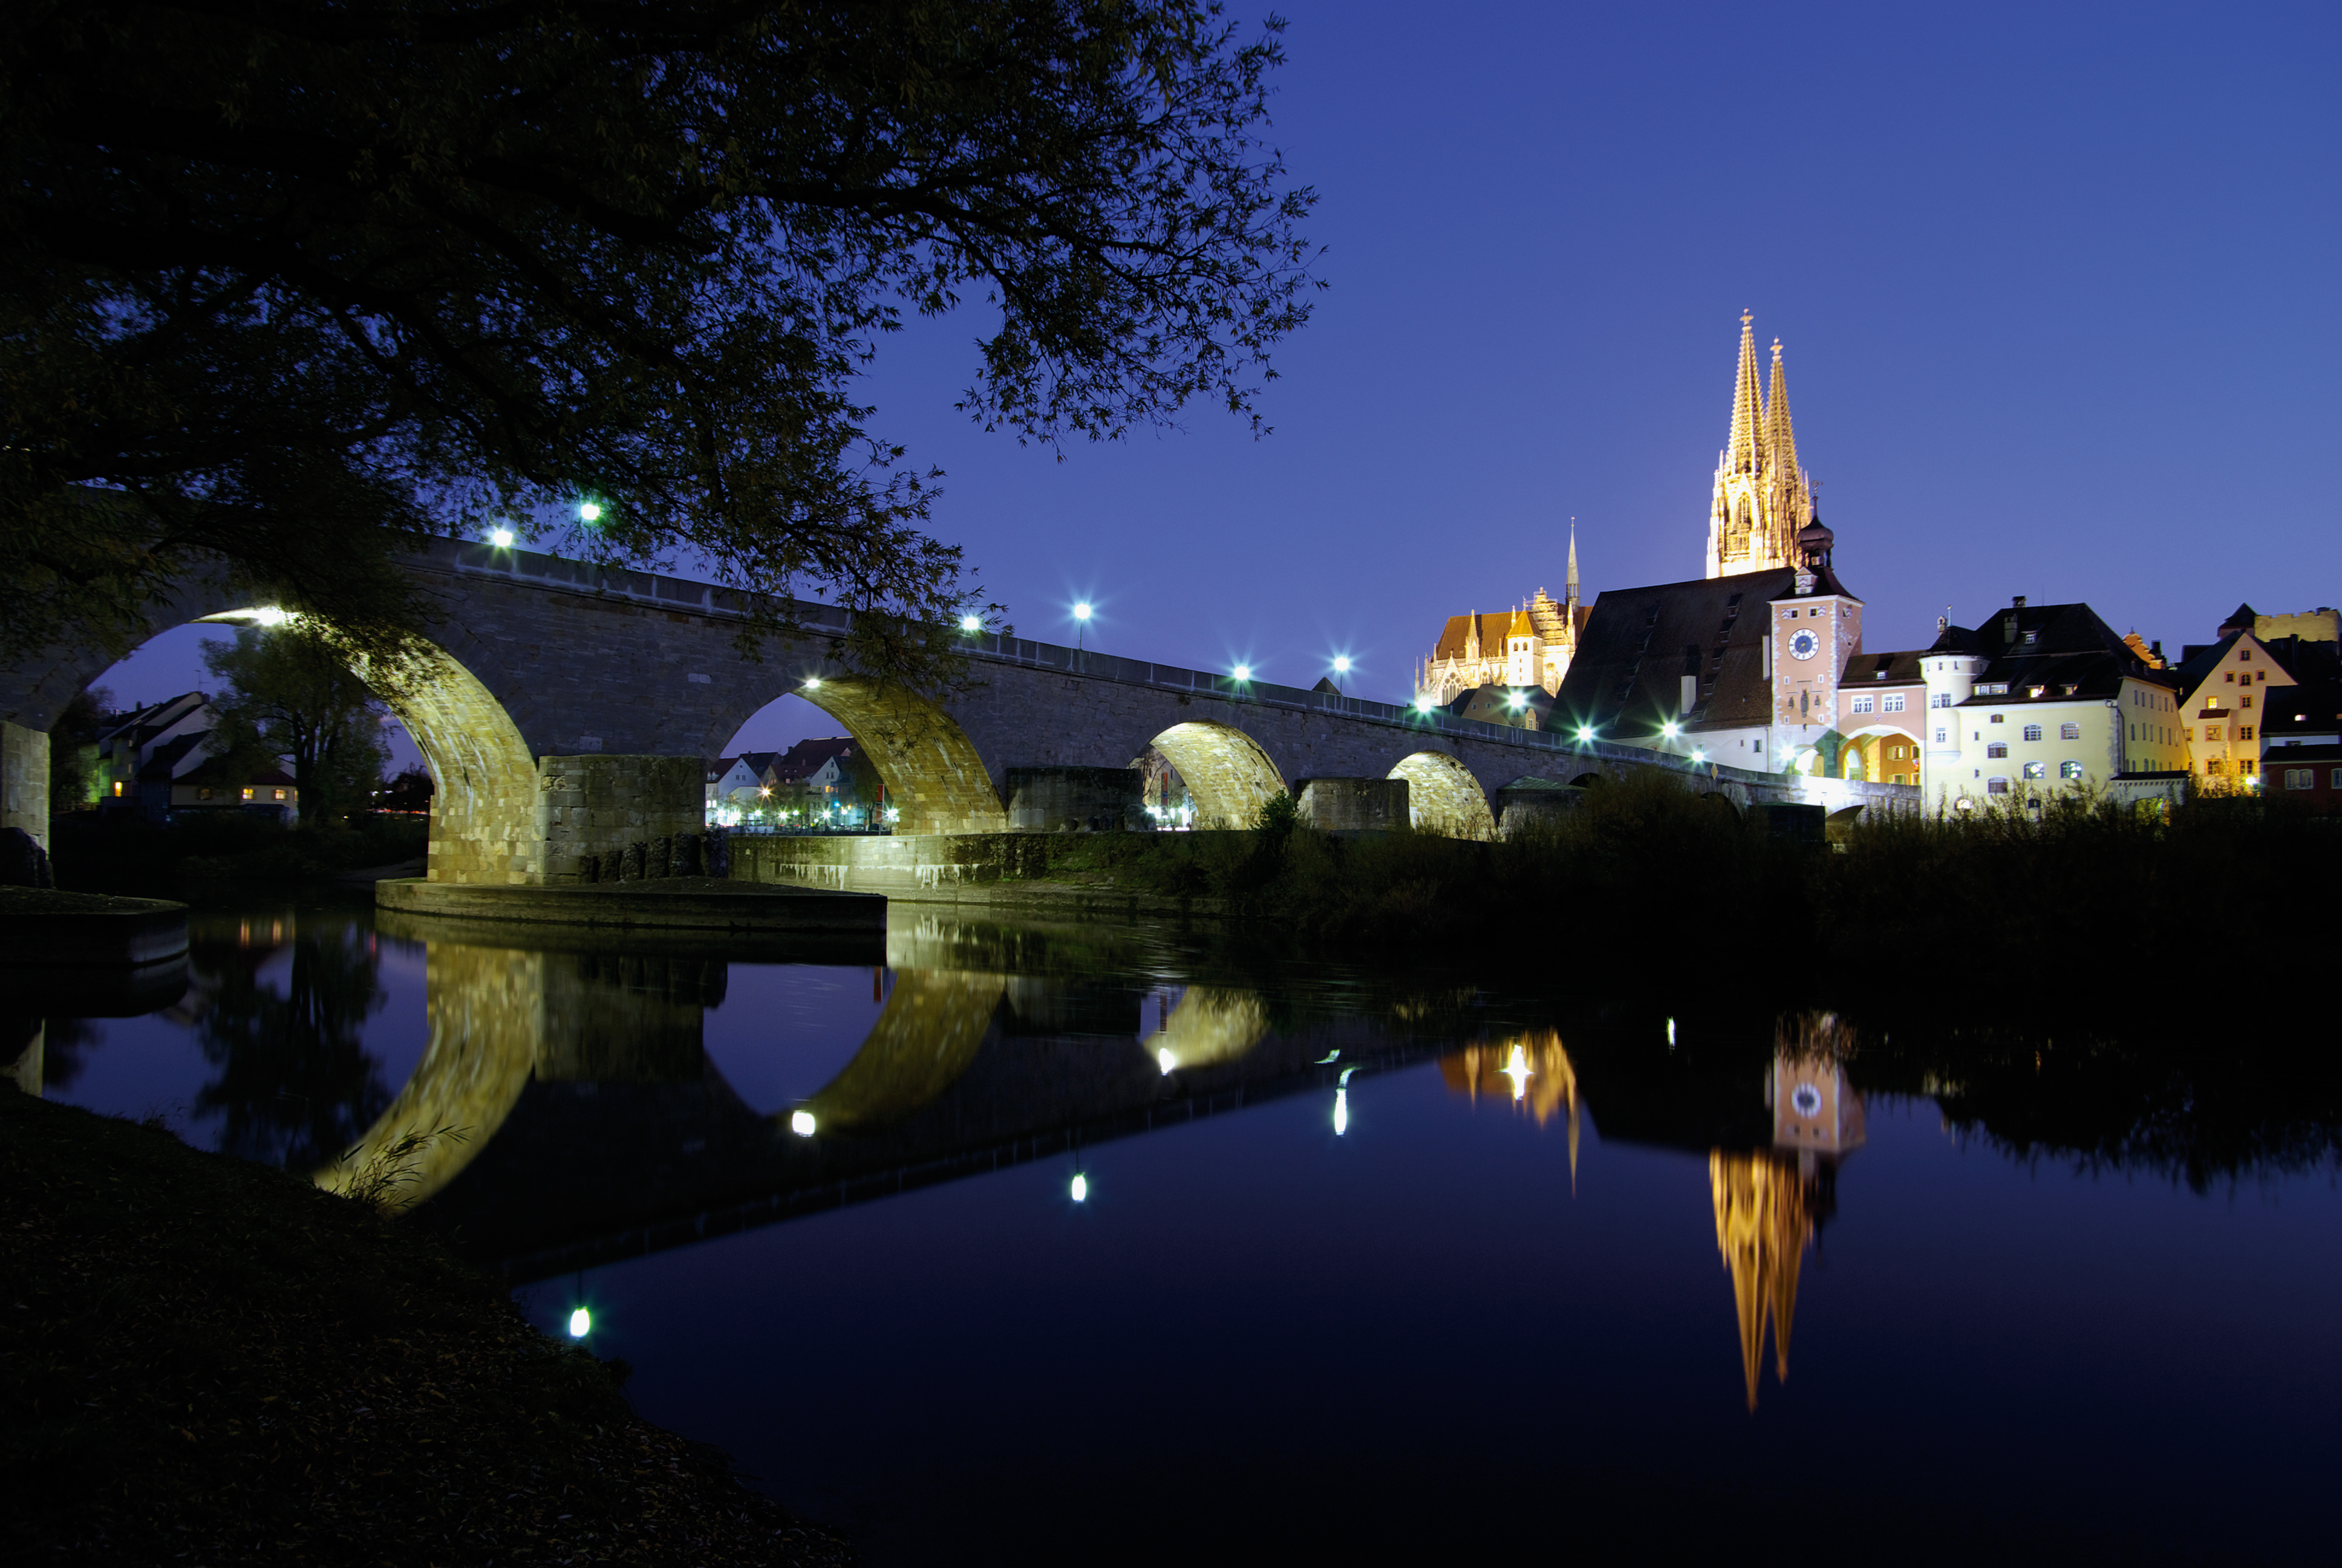
Instead of using one of the standard filter settings, you can also make fine manual adjustments to the filtering. A good example of this is the shot of Regensburg on the Danube (bottom). Water is always a rewarding element in twilight picture. Sometimes, like here, it can produce a mirror effect that enhances composition; at others (when it’s windy or the river is fast-flowing) you get fascinating swirls of colour. I didn’t like the purplish cast on the AWB version and the candlelight-filter produced an artificially blue result, so I used the manual filter option to move the colours towards blue while retaining a warm, mauvish touch.

Taken from Philosophers’ Walk overlooking Heidelberg to show what rewards you can reap from twilight photography when it has snowed. Using a long zoom with exposures of five seconds at f/11. The magenta touch was deliberately introduced by manual filtering.
Twilight shots of modern buildings like this of Frankfurt’s Mainhattan skyline only work in winter when people are still at work.
Manual white balance filtering removed a magenta cast while retaining a warm colouring. K10D with 16–45mm at about 25mm; 12 seconds at f/11 to
get good depth-of-field.
Planning helps
Twilight is enchanting, but like most enchanting things, it doesn’t last forever. About 10 minutes, to be precise. However, it is possible to stretch things a bit, if you plan well in advance. Obviously, after sunset, the sky in the east and north darkens first. So having scouted out the possibilities, first position yourself to photograph those subjects that you can take with your back to the sunset (the bright eastern sky also helps fill in the shadows of ‘western’ subjects). Then, as the sunset sky fades, you can turn towards the south and west to tackle subjects in those directions. Planning well means you can double your booty before night forces you to pack up.
Winter is a great time for twilight photography. First, you can take a batch of memorable images and still be home in good time for dinner, while in the summer, you’ll have to wait until past 10pm before you can even get started. Second; instead of being dark blobs blocking desirable objects, trees become interesting seethrough patterns enhancing low-light shots. Third, winter is the only time for getting decent twilight shots of modern architecture. For example, in January, the bankers in Frankfurt are still hunched over their desks when the sky fades at about 5pm. So, their lights are still burning brightly when you release the shutter. At other times of year, this is simply not the case.
Finally, the amazing thing about winter is that it still does occasionally snow. This may be cold, wet and slippery stuff, but for us photographers, the marvellous thing is that it is white. Which means that it helpfully brightens up those otherwise dark, shadowy areas that are often a problem in low-light photography. So, when the weather forecast brings tales of imminent motorway chaos and woe, it’s time to get out your best winterwoollies. Because, if you apply some of the principles outlined above, chances are that you’re going to bring some really fabulous images home with you.
More of Andrew's work can be seen on his website: http://andrew-cowin.com/
Members photos with related tags: light


Add Comment
To leave a comment - Log in to Pentax User or create a new account.